The Born Freelancer on how to get a great sounding interview – Part 3
This series of posts by the Born Freelancer shares personal experiences and thoughts on issues relevant to freelancers. Have something to add to the conversation? Your input is welcome in the comments.
LAST WEEK I wrote about the importance of microphones in obtaining the best quality sound possible for your recorded interviews. Today a few more thoughts on effectively using them.
TIP: HANDLE YOUR MICROPHONE WITH CARE
If using one microphone for a broadcast application in which you want both of your voices to be recorded equally well, be aware of the danger of microphone cord noises. Many mics have a very directional pickup area, the area of most sensitivity is directly in front and so you constantly need to point it in the direction of the sound you are recording. If you are constantly using your arm to swing the mic in front of your mouth and then out in front of your subject, back and forth, back and forth like an unlatched gate, chances are (with certain types of mics) that you may create a lot of rustling noises as well as possible crackling noises (if you have an unknown loose wire or connection). The secret is to point the mic back and forth with as little movement as possible. I usually try to arrange myself close enough to my subject, either side by side or across a table, so that with my elbow firmly in place on the chair arm, on the table top or just fixed in space between us, it is just a matter of turning my wrist to adjust the direction of the mic. This way the mic moves but very little of the cord moves and you eliminate most of the potential problem. Of course if you use two mics connected to a portable mixer (one mic on each of you) or one mic with a wider pickup pattern (so that no mic movement is required at all) the problem is moot.
TIP: ALWAYS USE PROTECTION
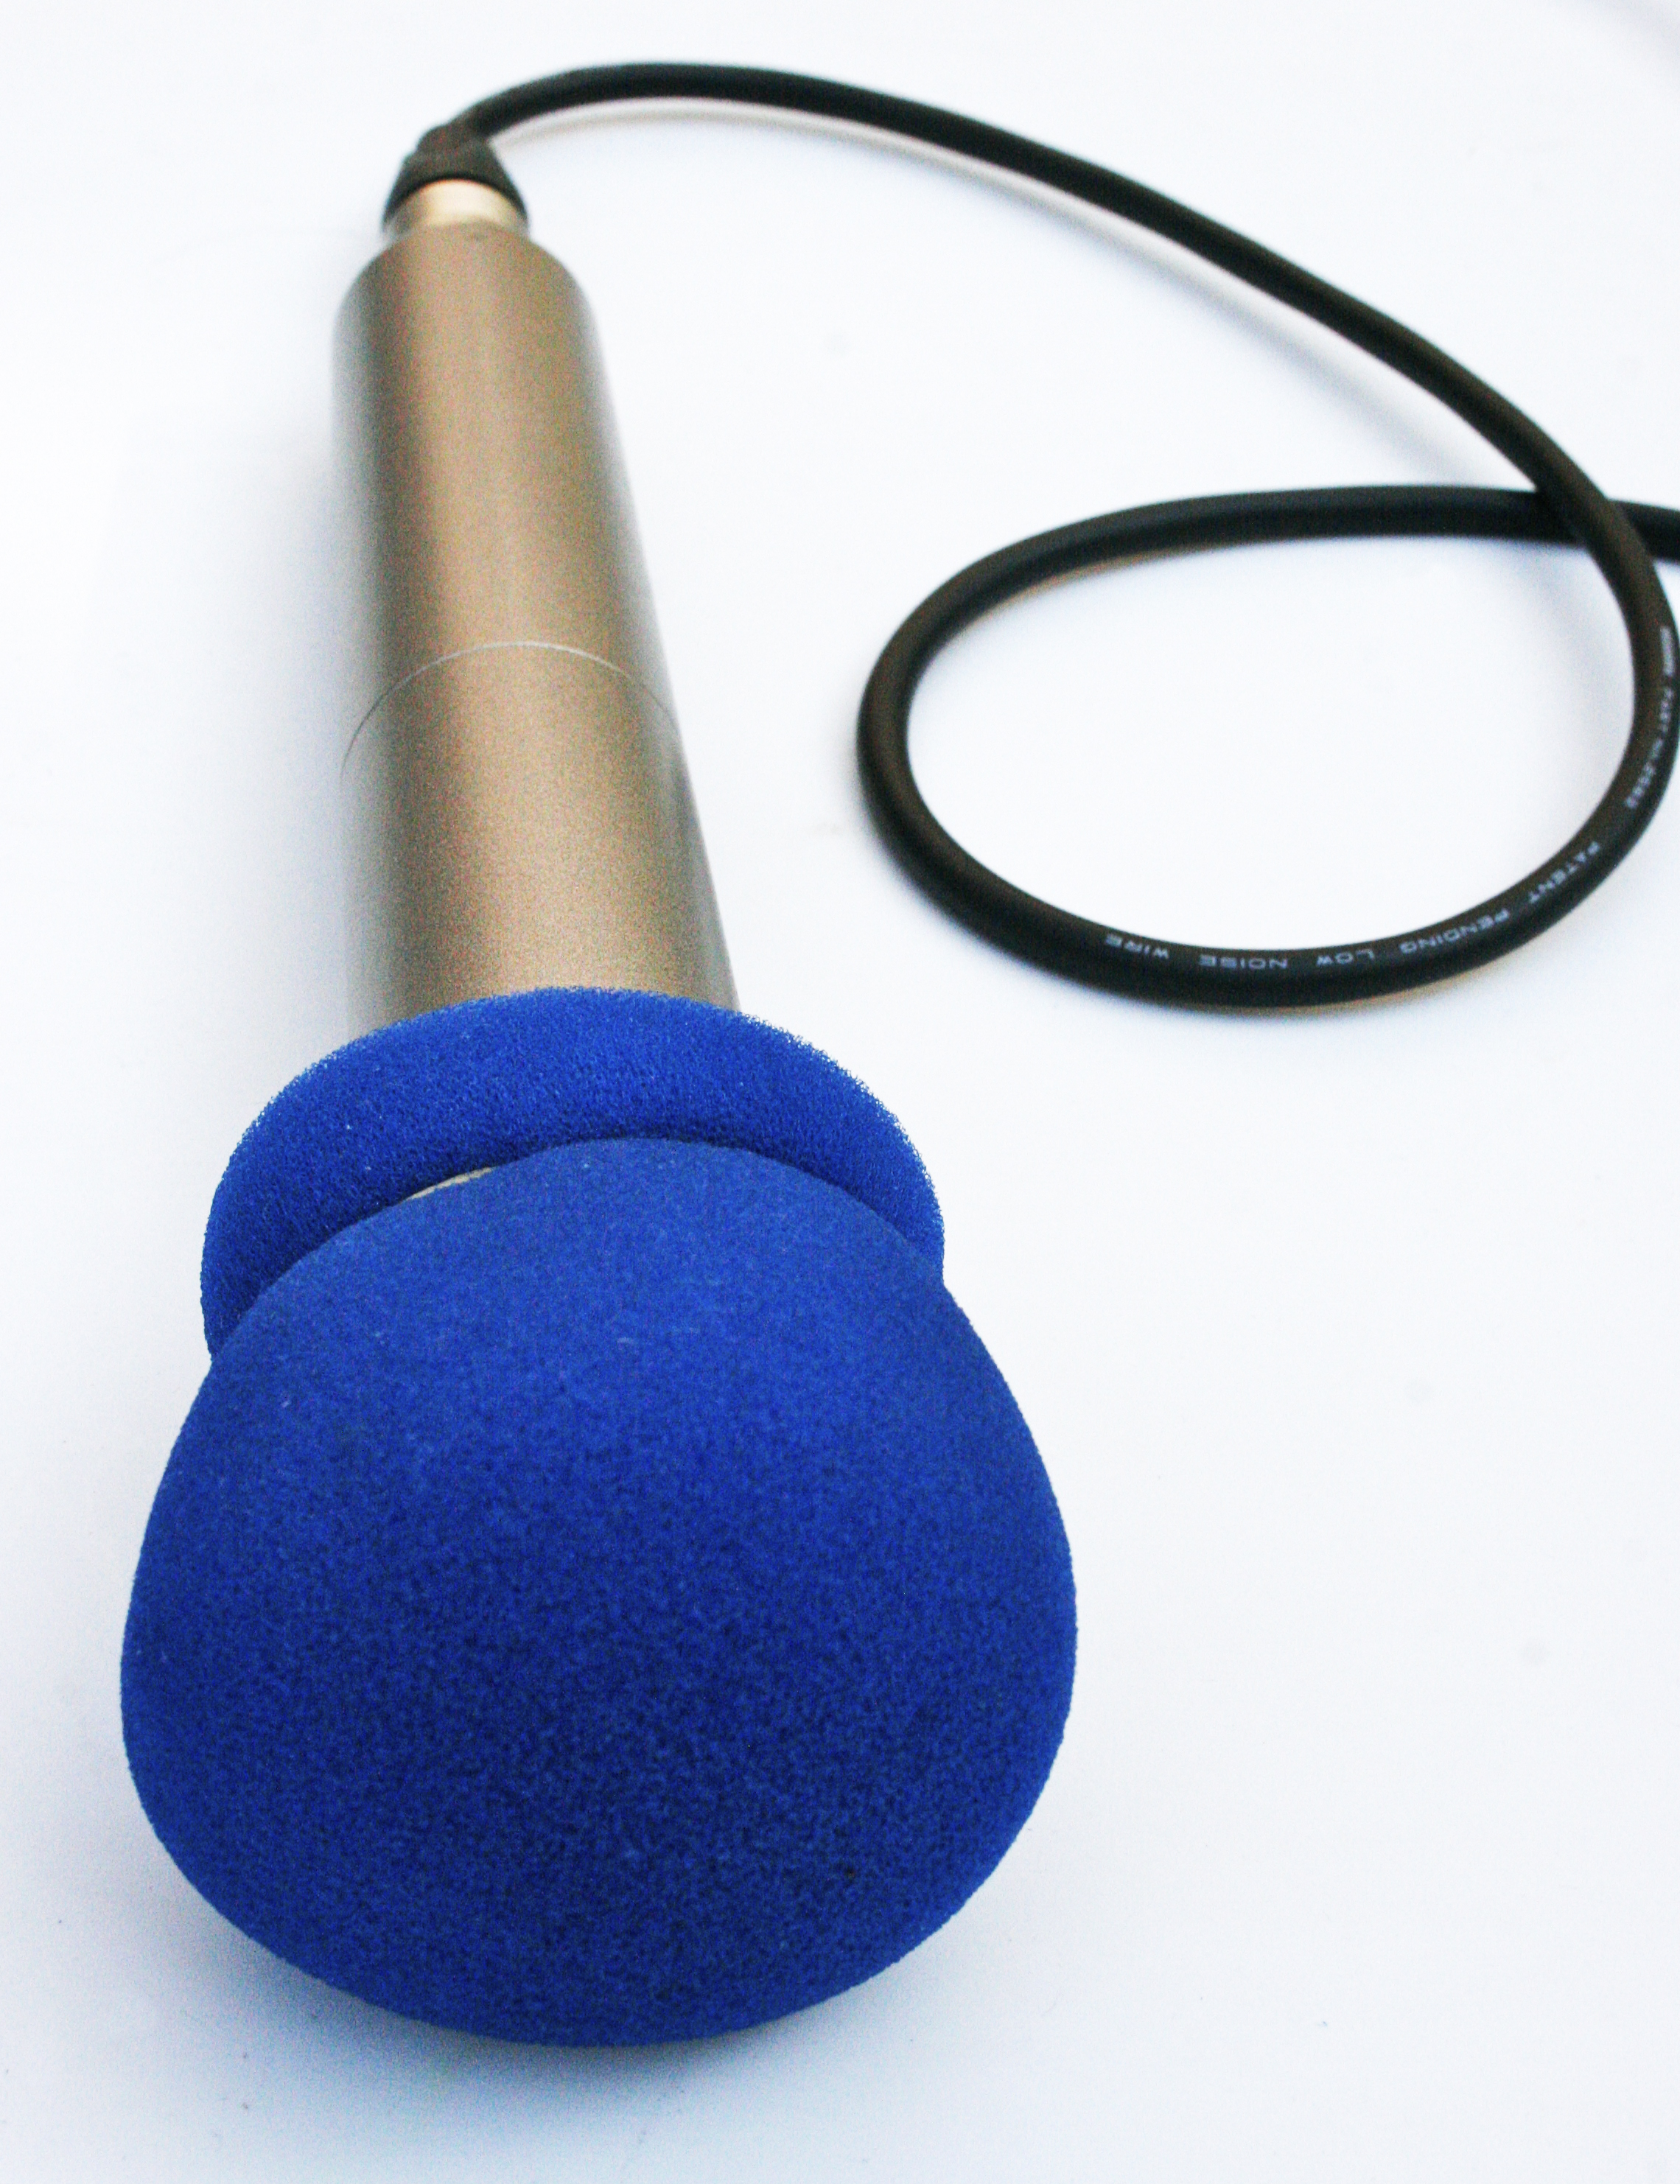
When recording on location and especially outside, always try to use a windsock over your mic. This is some kind of filter material placed over the head of the mic to inhibit the sound of wind and air passing by as you record. It also tends to eliminate any sibilants or explosive “pops” from your subject’s mouth (“p’s” and “b’s” etc) as well as your own, especially if you have placed the mic especially close to your subject for a more intimate style of interview. These windsocks or mic-socks are usually like big sponge balls which you can buy at most electronic stores or wherever music instruments and recording gear is sold. They can be shockingly expensive although they are a good investment. In emergencies, a fleecy style of sock (a clean one please!) can also be used. Once I headed to a joke and novelty shop and obtained a large sponge ball magicians use to produce from under a series of cups. I cut a slot into it and used it happily for many years. It cost a fraction of what a so-called professional mic sock would cost. Their giant sponge bunny was cheaper but not quite as conducive to a professional image (unless you are interviewing children!)
For use in the studio, or in a more controlled location setting such as an office, you can also buy a round frame to attach to your fixed-position mics with a fine mesh material over it to prevent those annoying “popping” sounds. In the past I have also rigged up an emergency filter using a redeployed wire coat hanger and a portion of lady’s fine mesh stocking to equal effect (and also much added hilarity!). You do whatever you have to do to get the ideal sound quality. When the ideal materials are not available you have to learn to improvise with what is.
If no such filtering gimmick is available to you and you notice your subject is spluttering and creating those pops and sibilants like mad during your pre-interview test recording (always made and checked first to insure everything is functioning AOK), your only alternative is an old radio trick – talk across the mic. Instead of pointing it directly at your subject’s mouth, point it at their chin or their nose. This will cause the worst of their pops to bypass the mic although the sound may be less than absolutely perfect. You can also pull the mic further back from them but this can lead to the subject sounding far away and rather distant – to be avoided if at all possible.
Tomorrow, some final additional thoughts on our subject.


on October 3, 2012 at 9:29 am
· Permalink
I lost the windsock that came with my mic and had to buy a new one at a local music store. Although replacing the custom-fitted windsock that I lost would have been expensive, I just got a generic one. It’s too big, but is held on easily with an elastic band. It only cost me $1.99. The only downside: it’s huge and bright blue (see picture above) and makes the mic look a little intimidating. On the other hand, apologizing for my huge muppet-looking microphone is a good ice-breaker with nervous interviewees.